ここではボードゲーム用のシミュレータ Tabletop Simulator を使ってみた感想とか、その過程でやったプログラミングを紹介します。
注意、Tabletop Simulator は売りもので Steam で 1,480 円です。
(改めて書き出してみると、けっこう高いな! この記事を書くモチベーションが…。
Steam のページ: http://store.steampowered.com/app/286160/?l=japanese
開発元のページ: http://www.berserk-games.com/ts/
Tabletop Simulator がどういうソフトウェアかを簡単に紹介すると「ボードゲームやカードゲームをネットワーク越しにできる」「自分が作ったカードデータも取り込める」というソフトウェアです。 というか詳しい紹介については http://tukedai.minibird.jp/blog/?p=168 のページが大変よくまとまっています。
この記事では、Tabletop Simulator 用に
- カードデータを yaml で定義して作成するスクリプトを作成した。
- カードを配置するボードも同様に作成した。
- ボードの大きさを save データを修正して変更した。
という項目を記述します。
カードデータを yaml で定義して作成するスクリプトを作成した
Tabletop Simulator ではカードを作るためには、カードの裏の画像と表の画像を取り込む必要があります。 最終的には、このような画像を作成します。
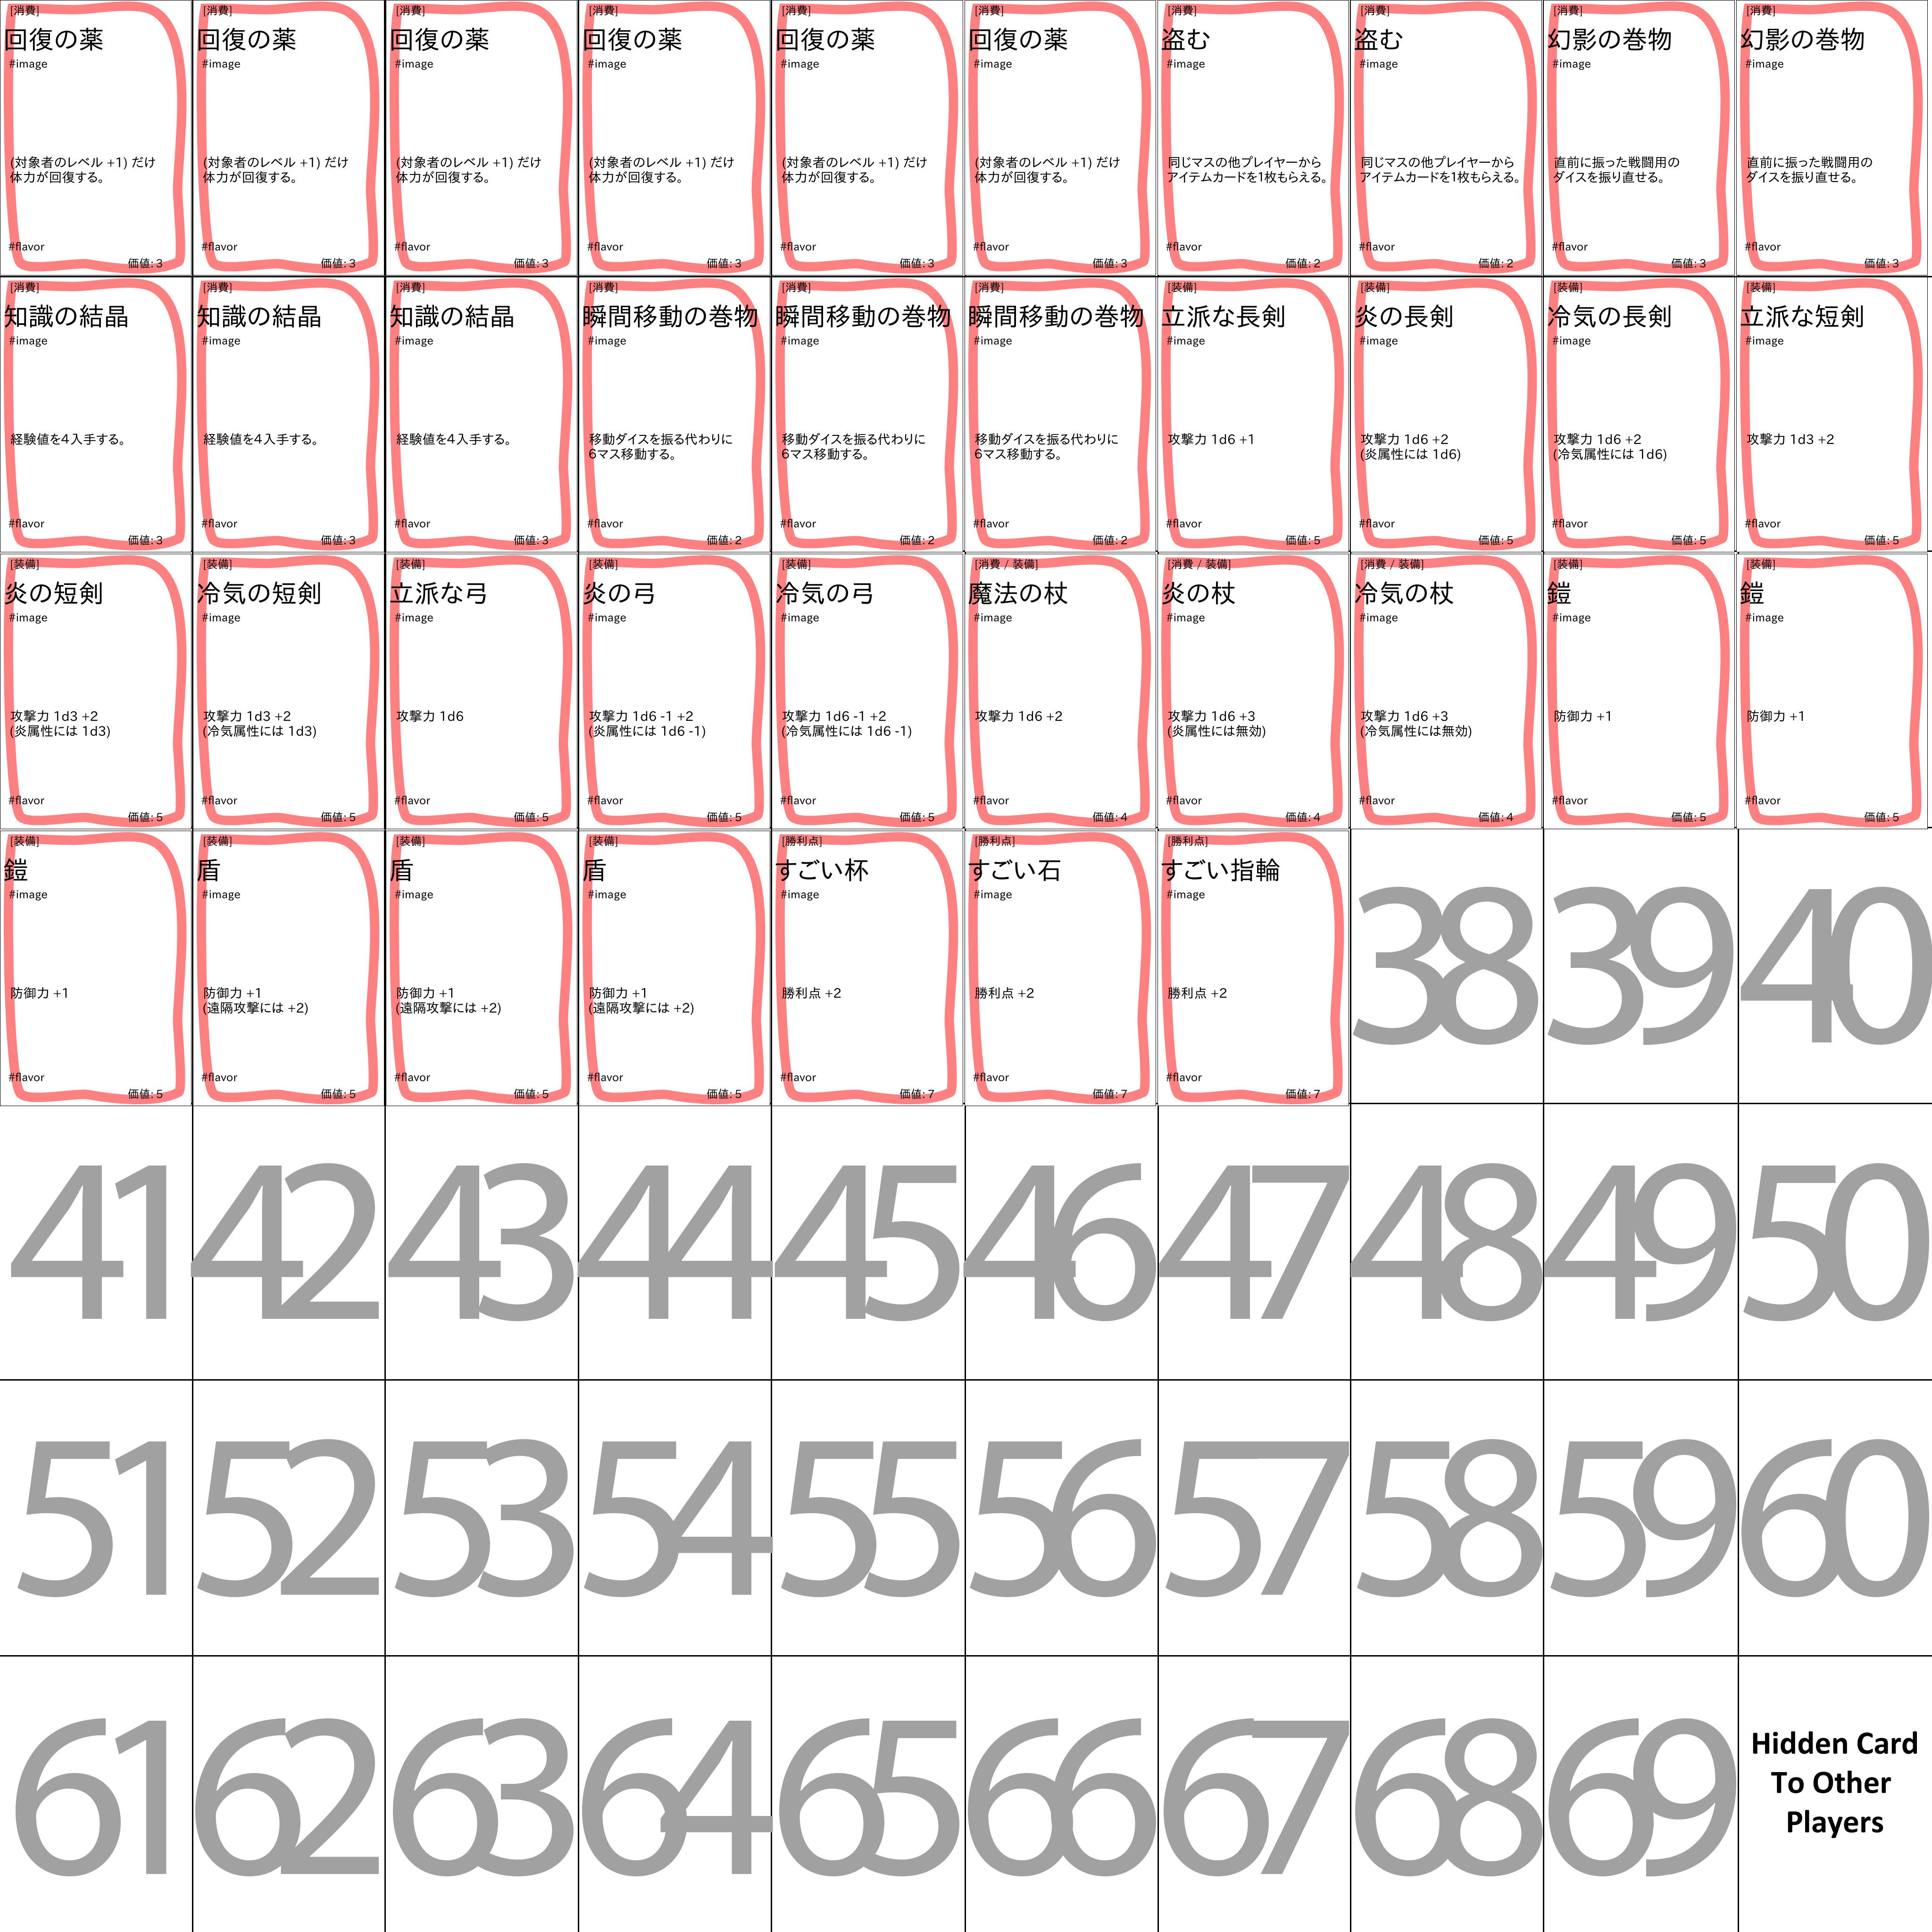
カード表の画像が縮小されてて少しわかりにくいですが、カードの画像を作り、それを必要な枚数だけ並べています。? この画像を作る手順を簡単に記述すると
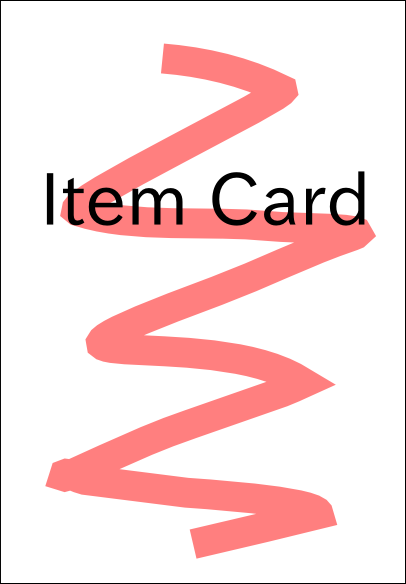
- ダミー文字を配置したテンプレートを svg ファイルで作成する。
- svg ファイルの文字列を置換した svg ファイルを作って inkscape で png 画像を作る。
- 作った png 画像を ImageMagic で指定した位置にコピーしていく。
となります。
用意したテンプレートを svg で作ったのは、フォーマットが文字列なので置換しやすそうだったからです。
用意したテンプレートファイル
https://bitbucket.org/satofumi/dungeon_sugoroku/src/default/item_card/item_template.svg
後はアイテム情報を列挙した yaml ファイルをスクリプトで読み込み、テンプレートファイルに個別に流しこんで svg ファイルを作れば、それを inkscape コマンドで png 画像が作成できます。
#!/usr/bin/env python
# -*- coding: utf-8 -*-

import sys, subprocess, yaml, codecs, copy


def print_help(program_name):
    print "usage:\n python " + program_name + " <yaml file> <template svg>"

if len(sys.argv) < 3:
    print_help(sys.argv[0])
    sys.exit(1)

yaml_file = sys.argv[1]
template_svg_file = sys.argv[2]


# 文字列を置換した SVG ファイルから png 画像を生成する
template_svg = open(template_svg_file).read().decode('utf-8')

for data in yaml.load_all(open(yaml_file)):
    for item in data:
        dest = copy.deepcopy(template_svg)
        name = item['name']
        output_file = name + '.png'

        # 各パラメータの置換
        dest = dest.replace('#name', name)
        dest = dest.replace('#type', item['type'] or '')
        dest = dest.replace('#cost', str(item.get('cost')))
        dest = dest.replace('#text1', item['text1'] or '')
        dest = dest.replace('#text2', item['text2'] or '')
        #dest = dest.replace('#flavor', item['flavor'])
        #dest = dest.replace('#image', item['image'])

        dest = dest.replace('#hp', str(item.get('hp') or ''))
        dest = dest.replace('#atk', str(item.get('atk') or ''))
        dest = dest.replace('#items', str(item.get('items') or ''))
        dest = dest.replace('#exp', str(item.get('exp') or ''))
        dest = dest.replace('#score', str(item.get('score') or 0))

        # ファイルを出力して画像を生成する
        f = codecs.open('out.svg', 'w', 'utf-8')
        f.write(dest)
        f.close()
        cmd = 'inkscape -z -e ' + output_file + ' -w 406 -h 584 ' + 'out.svg'
        subprocess.call(cmd, shell=True)


cmd = 'rm out.svg'
subprocess.call(cmd, shell=True)
?
(改めて見ると小汚いコードだな…。 いずれ直そう。
で、このスクリプトを実行すると yaml で定義したぶんの画像ができるので、次に別のスクリプトで Tabletop Simulator が読み込める画像を作ります。 そのスクリプトはこんな感じです。
#!/usr/bin/env python
# -*- coding: utf-8 -*-

import sys, subprocess, yaml


def print_help(program_name):
    print "usage:\n python " + program_name + " <yaml file> <output file>"

if len(sys.argv) < 3:
    print_help(sys.argv[0])
    sys.exit(1)

yaml_file = sys.argv[1]
cards_template_file = sys.argv[2]


def card_position(index):
    x = index % 10
    y = index / 10
    return (406 + 3) * x, (584 + 3) * y

def add_card_image(dest_image_file, card_image_file, x, y):
    cmd = 'convert ' + dest_image_file + ' ' + card_image_file + ' -gravity northwest -geometry ' + '+' + str(x) + '+' + str(y) + ' -composite out.jpg'
    subprocess.call(cmd, shell=True)

    cmd = 'mv out.jpg ' + dest_image_file
    subprocess.call(cmd, shell=True)

# yaml ファイルから名前と枚数を読み込み、順に配置する
total_index = 0
for data in yaml.load_all(open(yaml_file)):
    for item in data:
        card_image_file = item['name'] + '.png'
        print 'add ' + card_image_file
        number = item.get('number') or 1
        for i in range(0, number):
            x, y = card_position(total_index)
            total_index += 1
            add_card_image(cards_template_file, card_image_file, x, y)
(なんだろな、この「とりあえず作りました」的なコードは…。 いや、とりあえずで作ったんだけど。
カードを配置するボードも同様に作成した
ゲームのキャラクター毎に個別のカード置き場を作る必要があったので、同様にボード用の svg テンプレートファイルを定義して文字列を置換しました。
ボードの大きさを save データを修正して変更した
で、ここまでやって実際に Tabletop Simulator に画像を取り込んでみたのですが、ボードは大きすぎたので、保存データの JSON ファイル中の Scale を 1.0 から 0.5 に変更してサイズを小さくしました。 保存データは My Document / My Games / Tabletop Simulator / Saves 以下にあります。

ボードはこんなに大きくなくていい…。
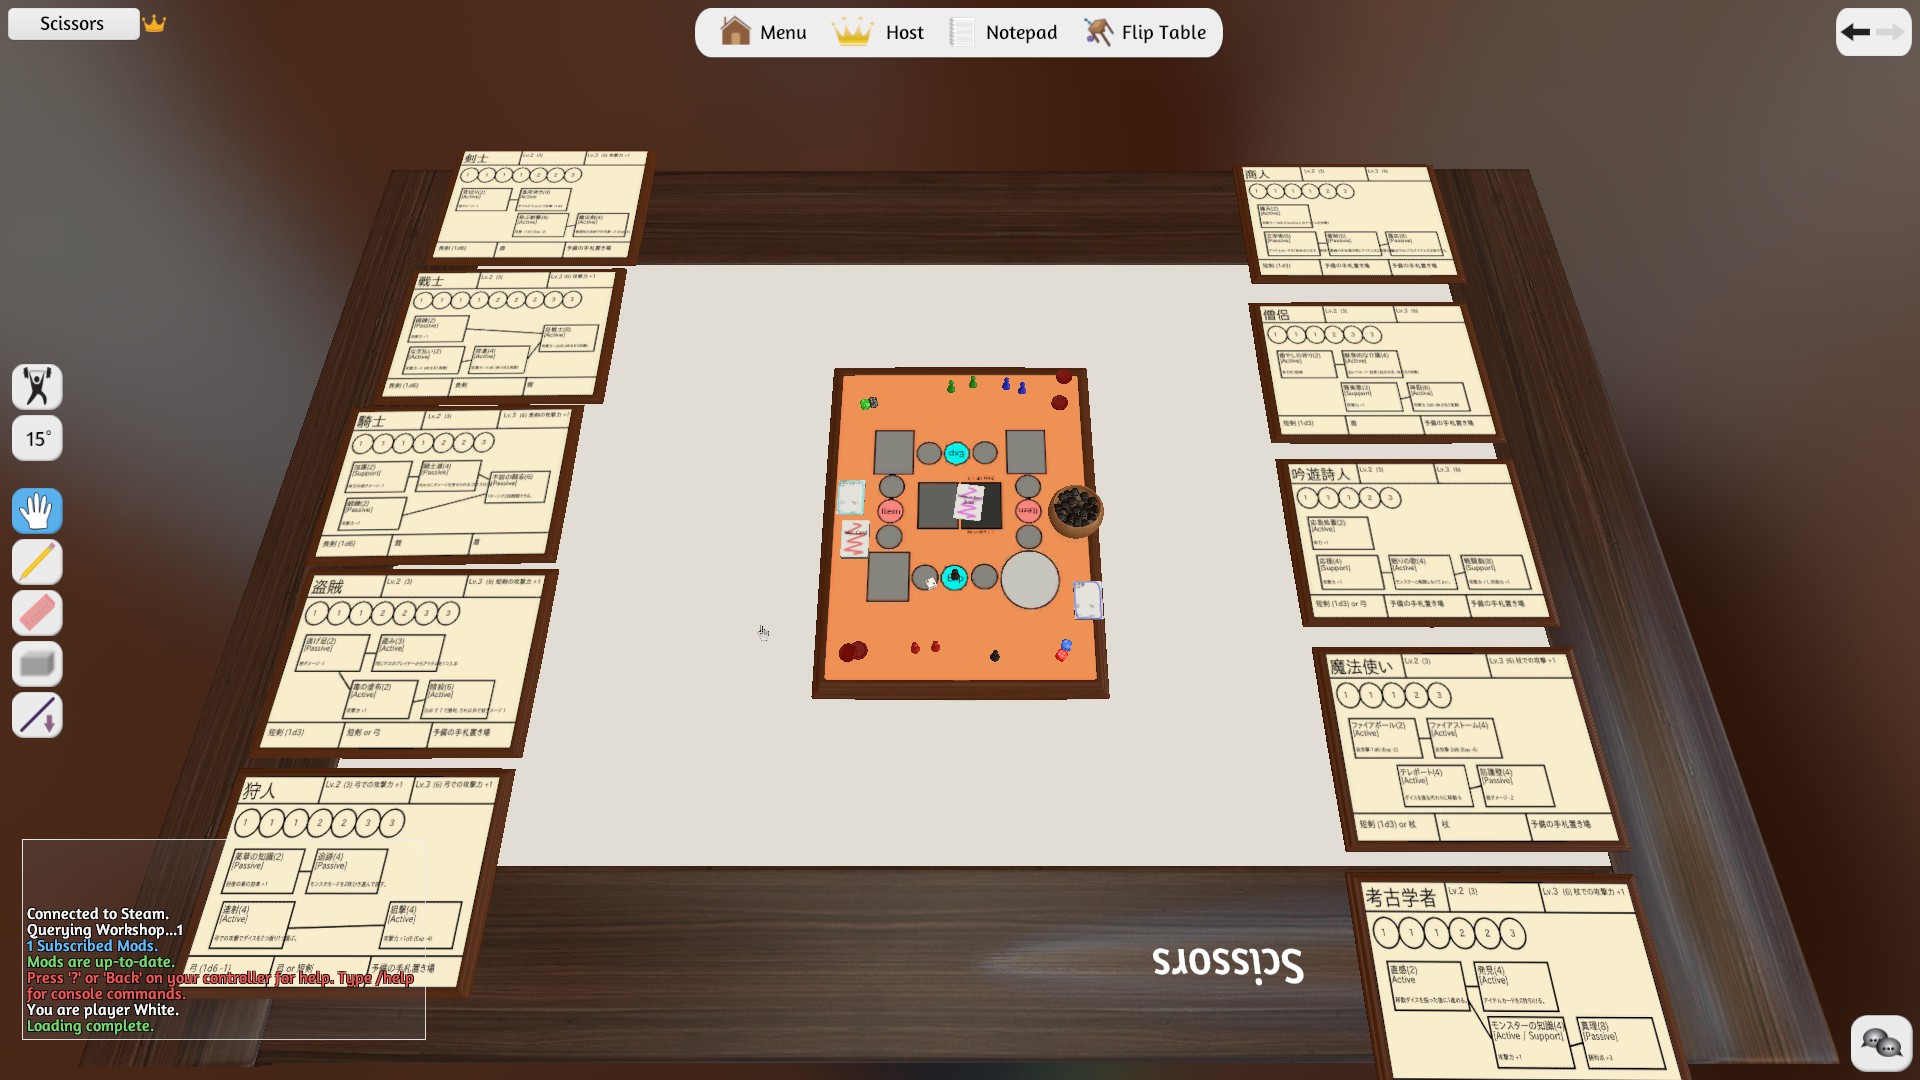
(使わないパネルは、DEL キーで削除してもオッケーです。
あと、追記
◇取り込んだ画像はキャッシュされるので、「なんでリンク先の画像を変更したのに表示内容が変わらないんじゃい!」って思ったら My Document / My Games / Tabletop Simulator / Mods / Images 以下のファイルを削除してみましょう。
◇Tabletop Simulator は自作ゲームをネットワーク越しに遊んで評価するために購入したけど、結局まだネットワーク越しではゲームしてないです。 あと、ぶっちゃけるとマウス越しのコマとかの操作は面倒です。
◇自作ゲームを自分で何度かプレイしてみたけど、あんまり面白くなかった…。
自作ゲームのプロジェクト: https://bitbucket.org/satofumi/dungeon_sugoroku/wiki/Home
(Tabletop Simulator 用の保存データがダウンロードできます。